How to Annotate Images for Precise AI Edits
Learn how to combine comments, arrows, masks, and visible text on a canvas so an AI image editor understands exactly what to change and what to preserve.
 ImageAgent Team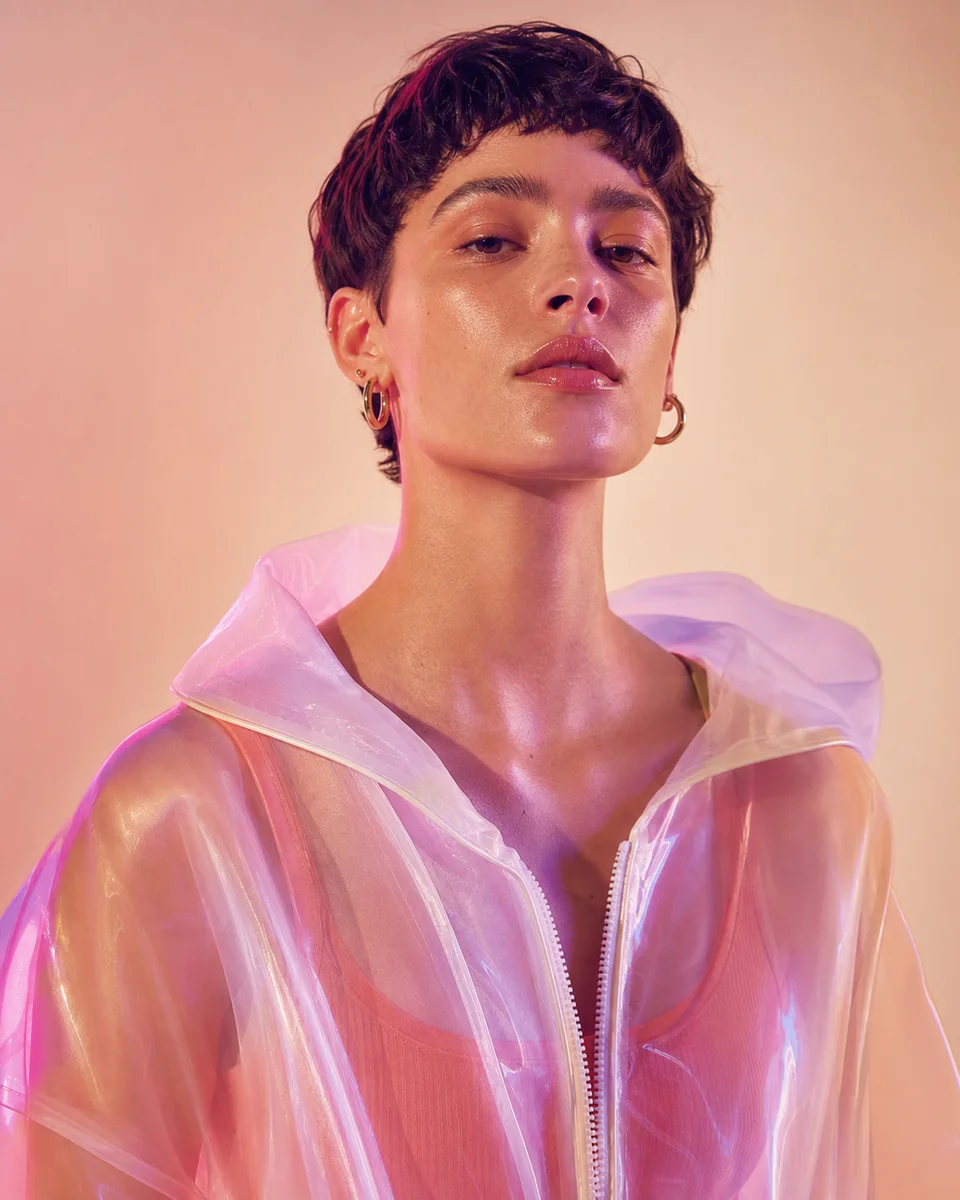
Text prompts are useful, but spatial instructions make image editing much more precise. Instead of writing “change the object on the left,” mark the object directly and attach the instruction to that location.
Choose the right annotation
- Comment — explain a change at a specific point, such as “add a silver earring here.”
- Pen or rectangle — identify an area whose style, color, lighting, or material should change.
- Arrow — show direction, movement, or the relationship between two objects.
- Remove mask — paint over an object that should disappear from the final image.
- Visible text — place words that should appear in the generated image, such as a headline on a poster.
Write one instruction per area
Short, local instructions are easier to interpret than a paragraph that mixes several changes. Add separate comments for the subject, background, lighting, and typography. This also makes it easier to revise only one part later.
State what must stay unchanged
When consistency matters, name the protected details explicitly. For example:
Add a small silver hoop earring at the marked point. Keep the face, hairstyle, pose, lighting, and background unchanged.
This pattern is especially useful for product photography, character continuity, and iterative campaign assets.
Check the output ratio before running
Choose the intended aspect ratio before asking for the edit. A square product image, vertical story, and wide hero banner require different compositions. Setting the ratio early reduces unwanted crops and repeated generations.
Review, annotate, repeat
Treat every result as a new version. Keep the parts that work, mark only the remaining issue, and send a focused follow-up. Small, explicit iterations usually provide more control than rewriting the full prompt each time.